
How to Create Before and After Photos for Your Dental Practice (Without a Designer)
Before-and-after photos are the single most persuasive content type in dental marketing. Learn how to create professional transformation images that convert, no designer required.
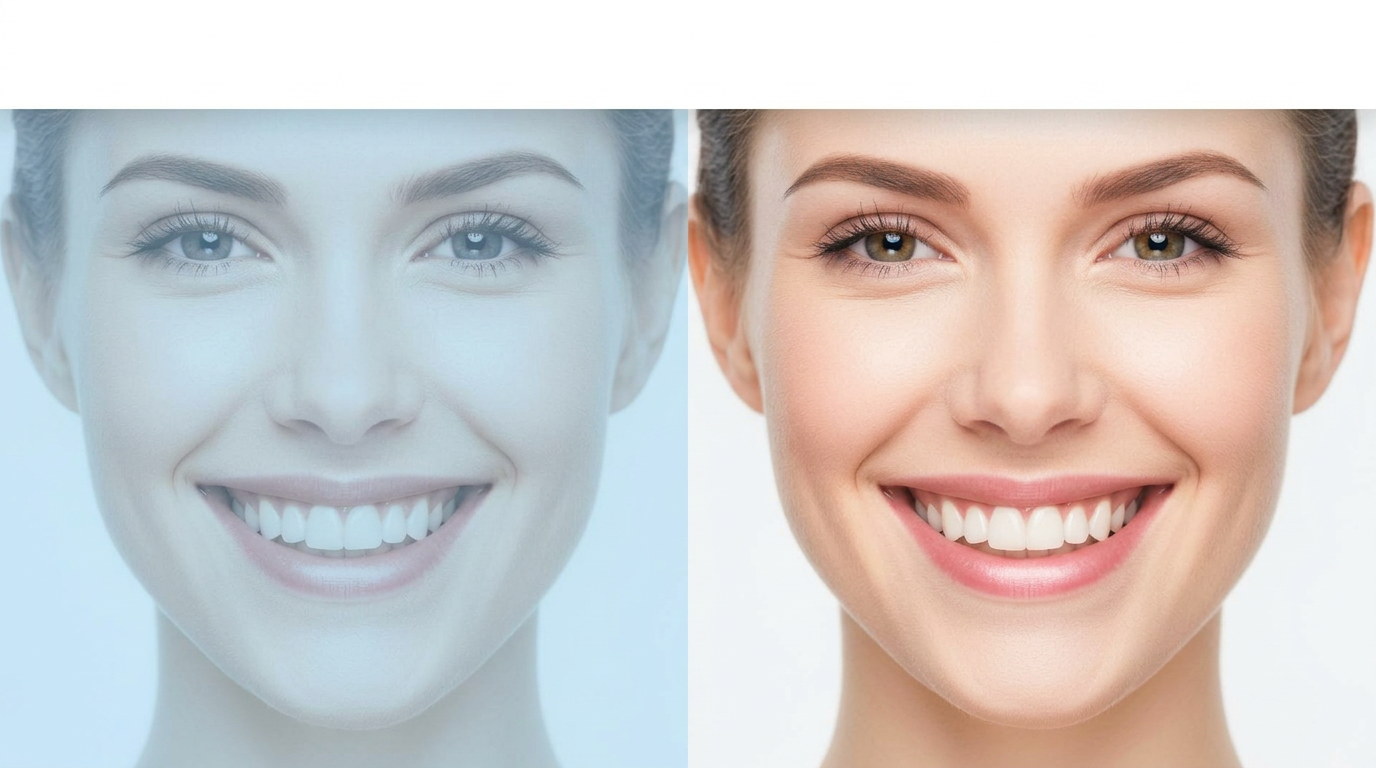
Before-and-after photos are the single most persuasive content type in dental marketing. They turn skeptical visitors into booked patients. But most practices either skip them entirely or post blurry iPhone shots that do more harm than good.
Here's how to create professional before-and-after images that actually convert, no graphic designer required.
TL;DR
- Before-and-after dental photos generate 3-5x more engagement than standard social media posts
- Consistent lighting, angles, and framing matter more than expensive equipment
- HIPAA compliance requires written patient consent before posting any photos
- Tools like Aron's Before & After Creator let you build branded, professional images in under 2 minutes
- The best formats for social media are side-by-side comparisons and slider reveals
Why Before-and-After Photos Work So Well for Dentists
Dental work is visual. Patients can't feel your clinical skills through a screen, but they can see the results. A well-executed before-and-after photo does what no amount of ad copy can: it proves you deliver results.
According to a 2024 study by the American Academy of Cosmetic Dentistry, 86% of patients said seeing transformation photos influenced their decision to book a consultation. That's not surprising. People trust evidence over promises.
The practices that post consistent, high-quality transformation content see measurable results:
- Higher engagement rates on Instagram and Facebook
- More inbound consultation requests for cosmetic procedures
- Stronger case acceptance when showing patients similar cases during treatment planning
Step 1: Get the Photography Right
Lighting
Natural light or a ring light. That's it. Overhead fluorescent lighting in your operatory will make every photo look clinical and unflattering. Set up a simple photo station near a window or invest in a $40 ring light from Amazon.
Angles
Consistency is everything. Use the same angle for before and after shots. For smile transformations, shoot straight-on with the patient's lips relaxed, then smiling. For veneers or whitening, capture a close-up of the teeth at the same distance.
Background
A clean, neutral background. A solid-colored wall works perfectly. Avoid cluttered operatory backgrounds with equipment visible, it distracts from the transformation.
Step 2: Get Patient Consent (Non-Negotiable)
Before you post anything, you need written consent. Period. This isn't just good practice, it's the law under HIPAA.
Create a simple photo release form that covers:
- Permission to use photos on social media, website, and marketing materials
- Whether the patient wants their face visible or cropped
- Right to revoke consent at any time
Most patients are happy to sign, especially when they're proud of the results. Just ask at the right moment: after they've seen their new smile in the mirror.
Step 3: Create Professional Before-and-After Images
This is where most practices fall short. They have great photos but present them poorly, mismatched sizing, no branding, inconsistent layouts.
You have three options:
Option 1: DIY with Canva
Works, but slow. You'll spend 15-20 minutes per image fighting with templates that weren't designed for dental use cases. The results look generic.
Option 2: Hire a Designer
Professional results, but expensive ($50-150 per image) and slow turnaround. Not practical for posting 3-5 times per week.
Option 3: Use a Purpose-Built Tool
Aron's Before & After Creator was built specifically for dental practices. Upload your photos, choose a layout (side-by-side, slider reveal, or vertical story format), add your branding, and download in under 2 minutes.
It handles the tedious parts automatically, matching image sizes, adding professional labels, applying your practice colors and logo. The AI-enhanced mode can even improve lighting and contrast on older photos.
Step 4: Choose the Right Layout for Each Platform
Instagram Feed
Square (1:1) side-by-side comparisons perform best. Clean, minimal text. Let the transformation speak for itself.
Instagram Stories & Reels
Vertical (9:16) slider reveals are incredibly engaging. The swipe-to-reveal format keeps viewers watching and drives saves and shares.
Landscape (16:9) images with a brief caption explaining the procedure. Facebook's algorithm favors images that generate comments, so ask a question: "Can you guess which smile is the after?"
Google Business Profile
Post transformation photos directly to your GBP. They appear in your listing's photo gallery and can influence local search rankings. Use the square format here too.
Step 5: Write Captions That Convert
The photo grabs attention. The caption converts. Here's a simple formula:
- Hook: Lead with the result. "From years of hiding her smile to confidently grinning in every photo."
- Context: Brief mention of the procedure and timeline. "6 porcelain veneers, completed in just 2 visits."
- Social proof: Quote the patient (with permission). "She told us this was the best investment she ever made."
- CTA: Clear next step. "Ready for your transformation? Link in bio to book a consultation."
Avoid clinical jargon. Your audience is patients, not other dentists.
Common Procedures That Make Great Before-and-After Content
- Teeth whitening, Dramatic, fast results. The easiest transformation to photograph.
- Veneers, The gold standard for smile makeover content. High-value procedure = high-value content.
- Invisalign / clear aligners, Show the full journey with progress photos at different stages.
- Dental implants, Missing tooth to complete smile. Emotionally compelling content.
- Full mouth restorations, The most dramatic transformations. These posts tend to go viral in dental communities.
- Composite bonding, Quick, affordable transformations that appeal to younger patients.
Mistakes to Avoid
Inconsistent angles. If the before photo is taken from the left and the after from straight-on, the comparison is meaningless.
Over-filtering. Don't add filters that change tooth color. You want authentic results, not Instagram-worthy deception.
No branding. Every before-and-after photo that gets shared without your practice name is a missed opportunity. Add your logo and website.
Posting without consent. One HIPAA violation can cost you $50,000+. Always get written permission.
Low resolution. Blurry photos scream unprofessional. Shoot at the highest resolution your camera allows.
How Often Should You Post Before-and-After Content?
Aim for 2-3 transformation posts per week as part of your overall social media marketing strategy. Mix them with educational content, team photos, and patient testimonials. Transformation photos should be roughly 30-40% of your content mix.
The key is building a library over time. After 6 months of consistent posting, you'll have a portfolio that sells your work 24/7.
FAQ
Do I need a professional camera for dental before-and-after photos?
No. A modern smartphone (iPhone 13+ or equivalent Android) with good lighting produces excellent results. A DSLR with a macro lens is ideal for close-up intraoral shots, but it's not required to get started.
Can I use before-and-after photos in paid ads?
Yes, but check platform policies. Facebook and Instagram have restrictions on "before and after" imagery in ads. The workaround: use them in organic posts (which perform better for this content type anyway) and boost the highest-performing ones.
How do I handle patients who don't want their photos shared?
Respect it completely. You can still photograph for clinical records, just don't post publicly. Many patients are comfortable with close-up shots that don't show their full face.
What if my "before" photos don't look dramatic enough?
Not every case needs to be a full-mouth reconstruction. Subtle improvements (whitening, bonding, gum reshaping) resonate with patients considering those exact procedures. Relatable transformations often convert better than dramatic ones.
Should I watermark my before-and-after photos?
Yes, a subtle logo watermark protects your content and builds brand recognition when images are shared. Avoid large, distracting watermarks that take away from the transformation.
Start Creating Professional Before-and-After Content Today
Before-and-after photos aren't just social media content, they're your most powerful sales tool. Every transformation you don't photograph and share is a missed opportunity to attract your next cosmetic patient.
Stop spending hours in Canva or paying designers for every image. Try Aron's Before & After Creator and start producing professional transformation content in minutes. Your future patients are scrolling right now, give them a reason to book.
Schedule a demo to see how Aron can transform your dental marketing.